Joining wood with dowels is a century-old hack that woodworkers still use. To say that it’s a complicated technique is utter nonsense.
With this simple guide, even amateurs could do a perfect doweling job minus the hassle.
RELATED: How To Build A DIY Saw Horse
Dowel Like a Pro in 10 Hassle-Free Steps
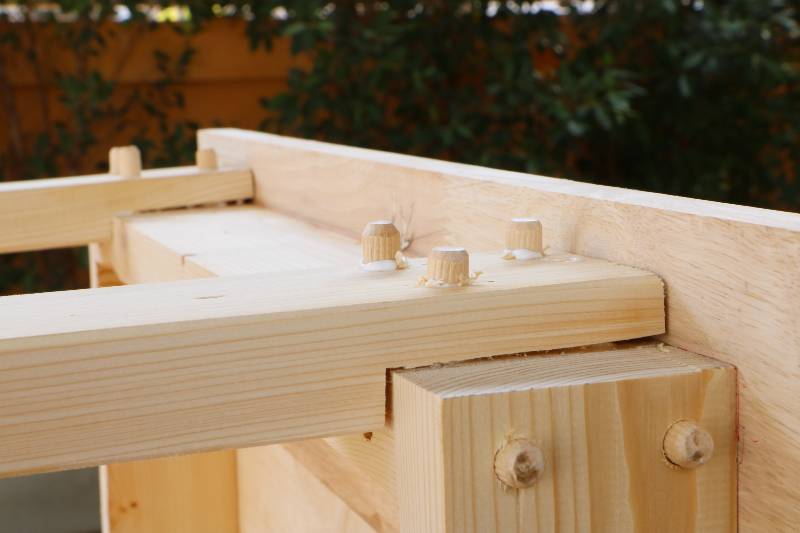
What You Need
Materials
- Two 2×2 Wooden Boards
- Dowels
- Glue
- 80 – 120 grit Sandpaper
Tools
- Dowel Jigs
- Power Drill
- Drill bits
- Brush
- C-Clamp
- Pencil
Step 1: Prepare the Wood
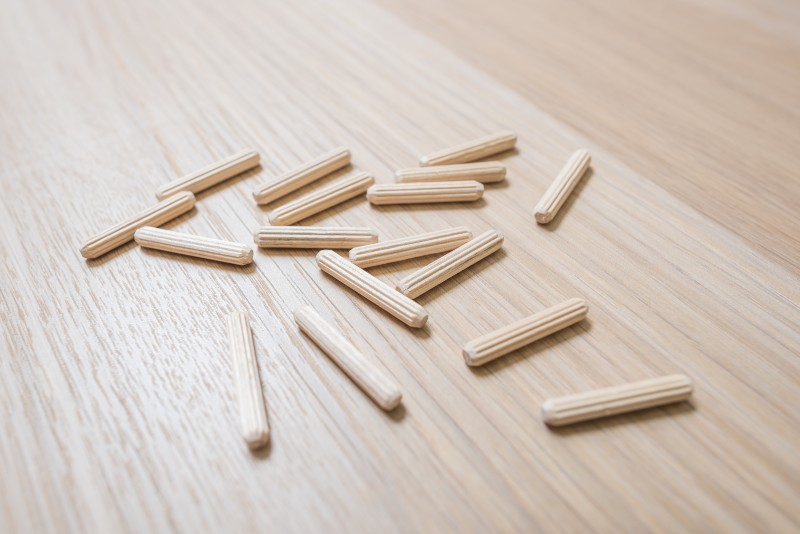
Clean the surface before joining wood with dowels. Use 80 to 120 grit sandpaper to level the surfaces.
This will help remove rough spots that would create gaps in the joint. Brush the sanded surfaces to remove excess wood.
Step 2: Prepare the Dowel
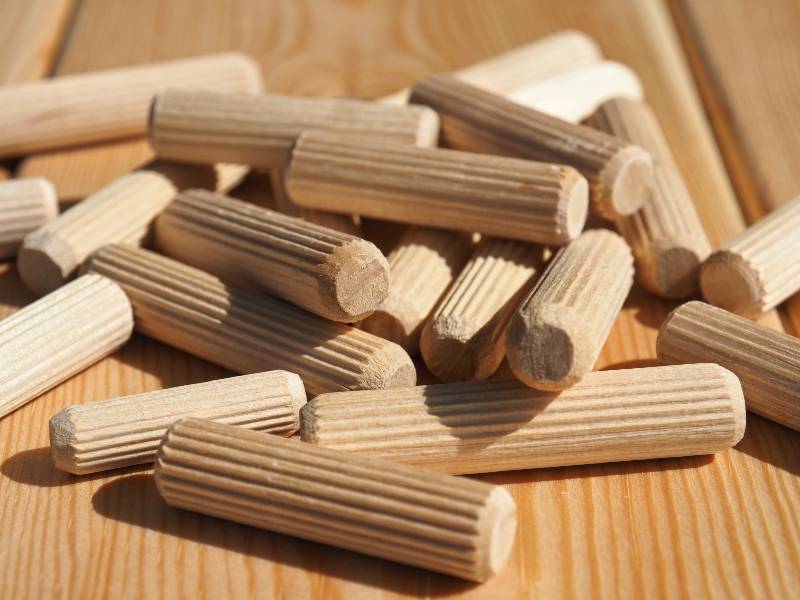
Making the dowel wider than that measurement would reduce the board’s strength. But using narrower dowels results in a weak wood bond.
Make sure that the diameter of the dowel is half the width of the wood. To make joining wood with dowels, bevel the tips of the dowels.
Note: Etch a tiny groove below the axis of the dowel. This will function as a channel for air and adhesive.
Step 3: Guide the Drill Bit using Dowel Jigs
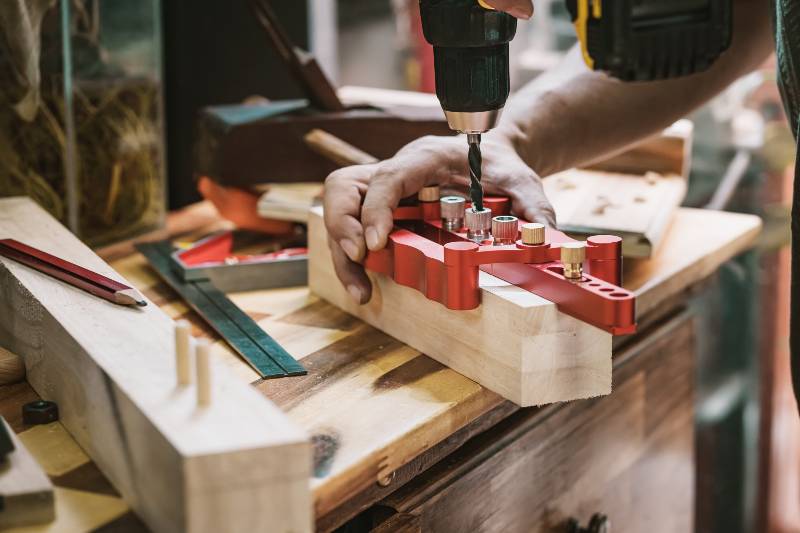
Accuracy and precision are important when joining wood with dowels. To drill precise holes, mark the edge of the board first using a dowel jig.
Step 4: Align the Dowels
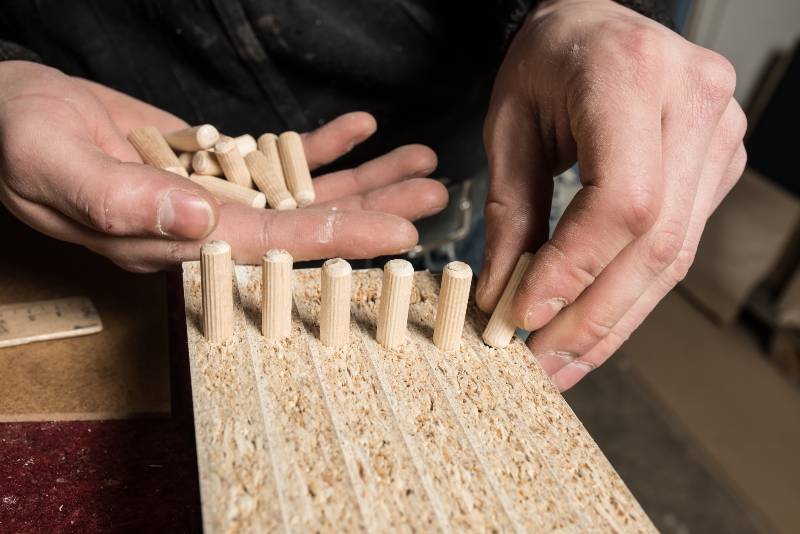
After marking the board where you will drill the holes, align the dowel logs. Once you align the logs properly, tighten the bolts.
Pro Tip: Doweling jigs come with bushings of various sizes. These will accommodate various drill bit diameter sizes.
Step 5: Mark the Boards
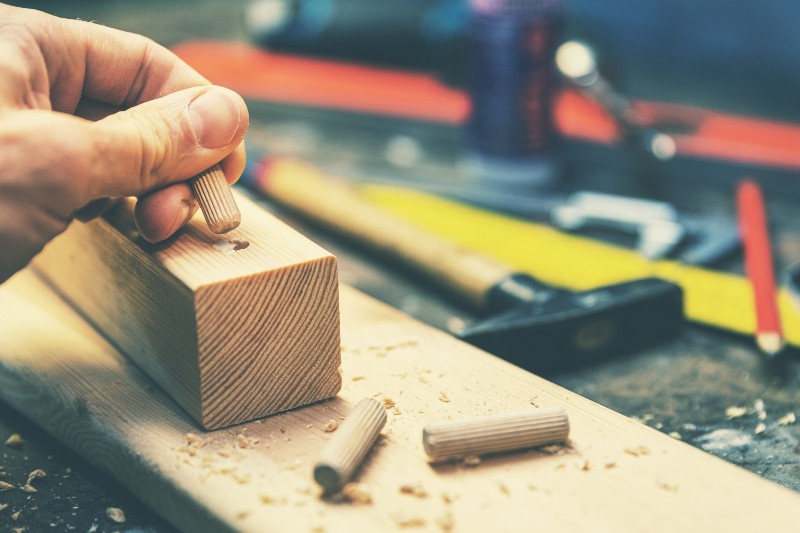
Use a pencil to mark the exact location where you will drill and insert the dowels. Detach the boards and using the marks as a guide, align the jig.
RELATED: Wilderness DIY: How to Make Your Own Bushcraft Camp Chair
Step 6: Prepare the Drill
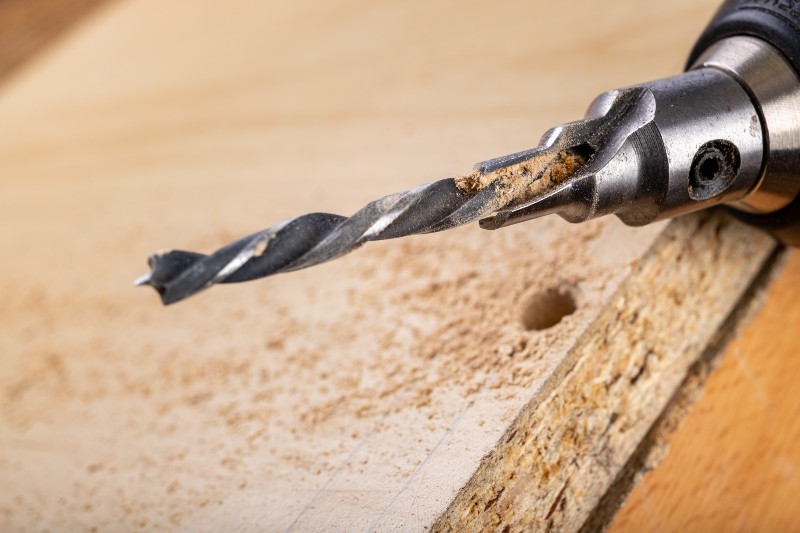
Once you are sure with the marks, fit the bit into the power drill. Place the tip of the bit right into the marked area of the board.
Step 7: Begin Drilling Holes
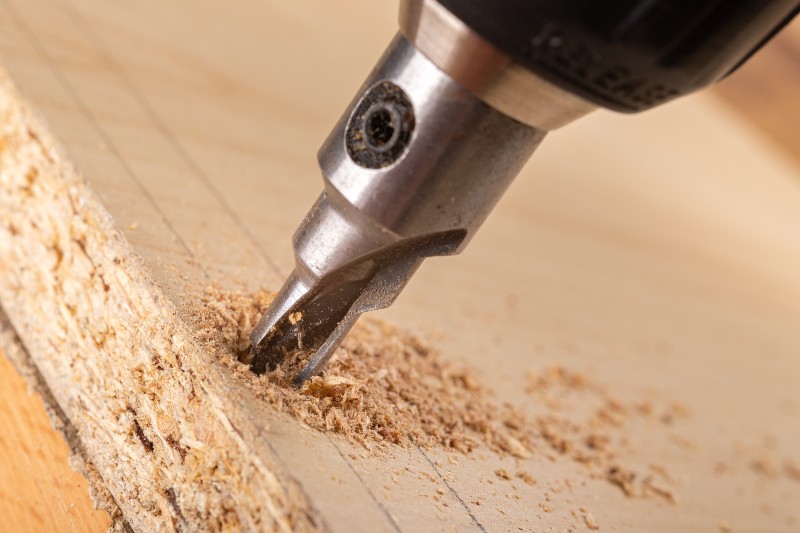
Grip the handle of the grip firmly. With a steady hand, press the trigger switch as you push the bit gently into the mark.
Once done, reposition the drill bit into the next mark. Repeat the same procedure before joining wood with dowels.
Caution: Be extra careful when using a power drill. Observe safety and make sure to prepare a first aid kit in case of an emergency.
Step 8: Align All Holes
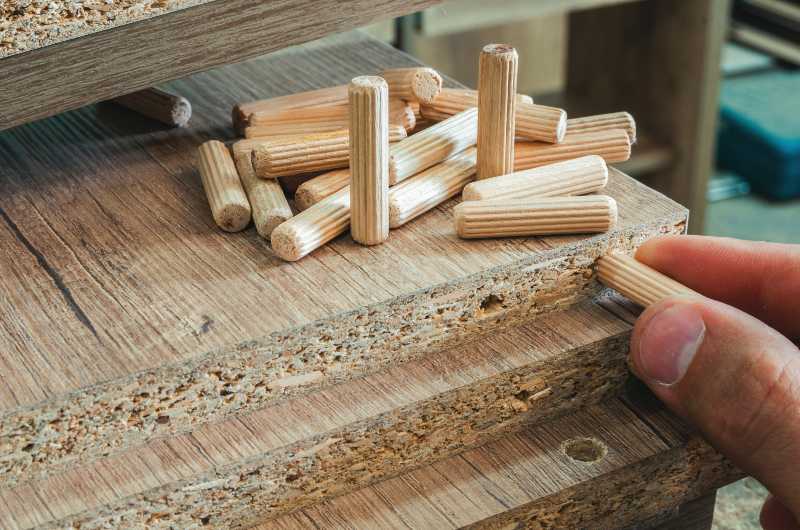
Insert the doweling centers into the holes that you have just drilled. Align both boards with the holes and marks as a guide.
Press them together and make sure both boards are precisely aligned. This will create an exact indentation on the other board.
Use this indentation as your guide in drilling the next set of holes.
Note: When drilling a hole, make sure to set an allowance for air the glue to set in.
Step 9: Insert the Dowels on the First Board
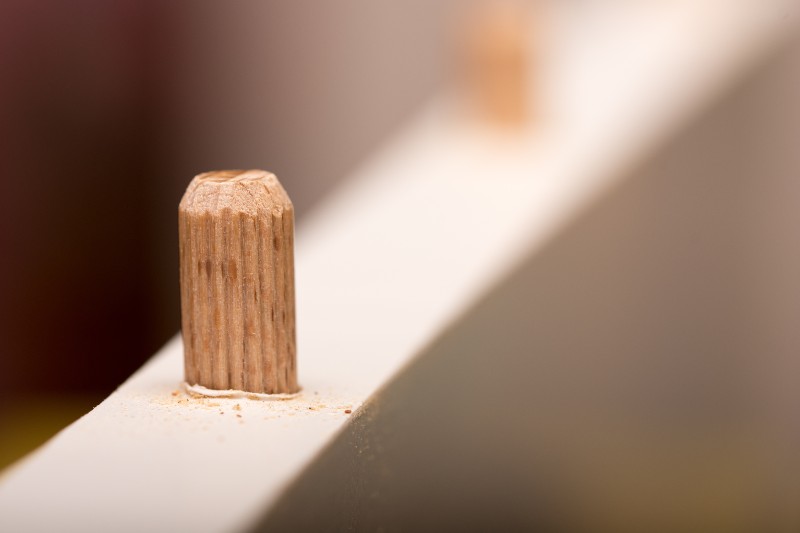
When done drilling all the holes, remove the doweling jig and centers from the board. Fill a reasonable amount of glue into every hole.
Insert the dowels into the holes. Remove excess glue that would squeeze out using a damp rag.
Step 10: Tighten the Joint
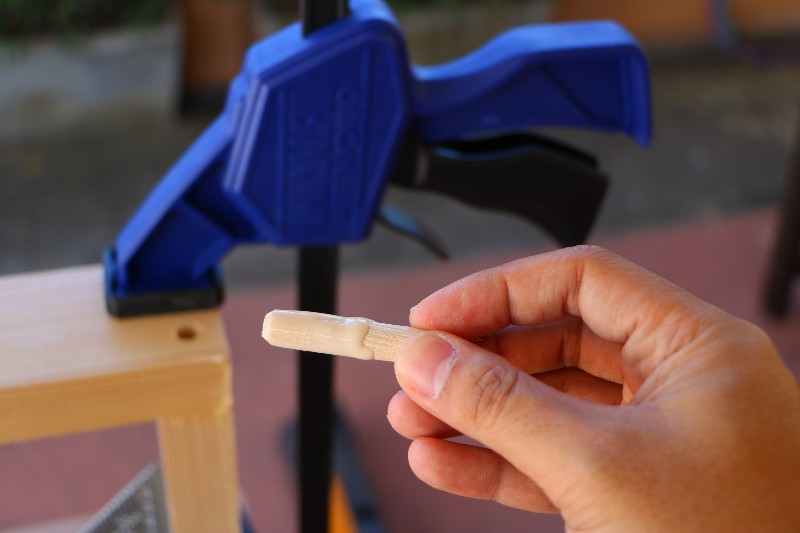
When you finish securing the joint, use a clamp to further tighten the bond. Again, be careful not to damage the joint by twisting.
Put the board in the clamp for at least 24 hours. This will ensure the success of joining wood with dowels.
There are other methods in joining wood with dowels. Some do not even need the use of doweling jigs. This particular method though is the easiest and most reliable way.
Note: There is a poll embedded within this post, please visit the site to participate in this post’s poll.
What’s the last woodworking project that you have accomplished? Feel free to share your thoughts in the comments section below!
Up Next:
- Top 5 Best Folding Camping Cots Of 2021 | Portable Sleeping Camp Tent Bed
- 15 Homemade Weapons That Are REALLY Badass [2nd Edition] | Survival Life
- How to Make Mead | DIY Mead In 6 Steps
Don’t forget to stay connected with us on Facebook, Twitter, Pinterest, and Instagram!

