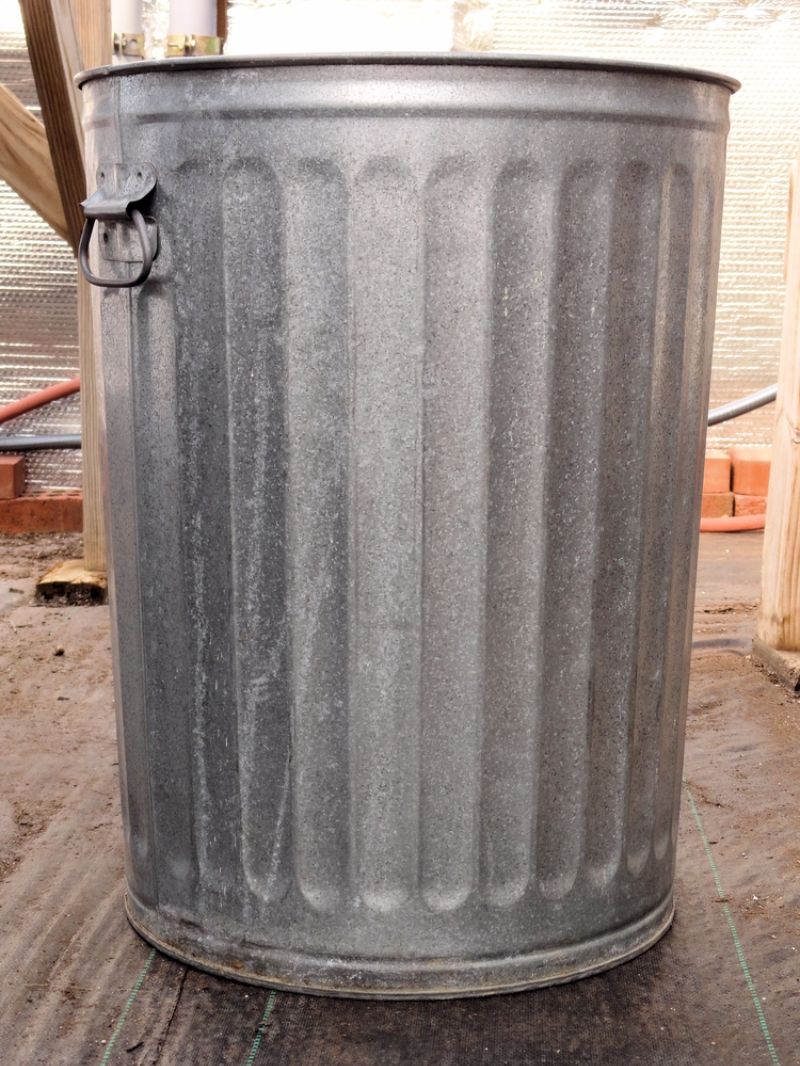
Do you know how to build a smokeless fire pit? Yes, it is possible, and by recycling an old trash can, too.
This project can be cost-effective, ideal for those who want to re-use an old trash can and who need a fire pit, especially for the cold days.
Learn how to build a smokeless fire pit in a few simple steps.
RELATED: How To Build A Fire Pit
Learn How to Build a Smokeless Fire Pit By Recycling A Trash Can

Things You’ll Need:
- A galvanized metal trashcan (for the pit)
- 1 inch. #10 sheet metal screw (to hold the lid and base together)
- Aluminum tubing (for the feet)
- Angle grinder (to do the dirty work)
- Firewood
- Flint/butane/firestarter/matches
How to Build a Smokeless Fire Pit:
Step 1: Cut the Metal Pieces
Start off by preparing the metal parts and by using the angle grinder.
Grind the trashcan into pieces. Start by cutting the whole can in half. The top part should be slightly taller than the bottom half.
Next is to cut the aluminum tubing (you can also use mending plates for this) into four pieces measuring up to 3 feet each.
Step 2: Create the Ventilation
Ventilation is very important in creating a smokeless fire pit. Having enough oxygen is key in pulling this off. That is why you need to create holes on the bottom of the trash can for vents.
Create slits on the bottom of the bottom part of the trash can using an angle grinder. Cut at least three lines from each side.
This design helps cold air to enter through the fire ring, goes up when it gets hot, and then mix with the smoke to create a second combustion.
Step 3: Cut a Whole On the Lid
Create a hole on the lid and leave at least 2 inches on the perimeter.
This step is crucial because a smokeless fire pit works with two combustions. The first one is the main flame which is ignited by your main source.
The second combustion goes around the walls of the main chamber onto the top and out through the ceiling of the lid.
This directs the secondary air toward the smoke.
RELATED: Why Every Survivalist Should Have A Fire Pit In Their Backyard
Step 4: Fasten
Fasten all the metal pieces together. The lid will still be on top and higher than the bottom half of the trash to create a gap for the air to escape.
This design will create a gap between the two creating way for the secondary air to come up. The air gap will also be used for convection.
Lastly, fasten the feet on four equal sides leaving about 3 inches from the bottom of the trash can.
Your pit should stand on its own and it should be almost ready at this stage.
Note: The slit from the bottom of the can should provide direct air. The gap in between the lower and upper parts should create the secondary air. Lastly, the hole on the lid will serve as the exhaust and main chamber.
Step 5: Light it Up
Test it out. Start a flame using the firewood and test if this design works. Let us know.
Note: The flame will burn the galvanized coating off the trash can and will emit toxic fumes for at least a few hours. As much as possible, try this out in a very open space.
Now that you know how to build a smokeless fire pit by using a trashcan, watch this video by The Creative Take DIY on how to build one using bricks, perfect for your backyard:
Now that you’ve learned how to build a smokeless fire pit it’s your turn to build one. You can never tell how this skill can help you in the future when the situation comes.
At the same time, if you want to build one for your backyard, this idea can be great as to not disturb your neighbors with smoke.
Note: There is a poll embedded within this post, please visit the site to participate in this post’s poll.
Do you now know how to build a smokeless fire pit or have you tried building one before? Share your stories in the comment section below.
Up Next:
- Campfire Infographic | How To Build The Perfect Campfire
- How to Make a Smokeless Campfire
- 15 Canning Tips To Make Food Last For A Long Time
Don’t forget to stay connected with us on Facebook, Twitter, Pinterest, and Instagram!

