If you have read some recent posts on our blog, you will know that we have started hammock camping. It’s fun, lightweight and appeals to anyone who might be trying to reduce the amount of gear they take when they go camping.
In saying that, we still use our tents a lot and you never know if your campsite is going to have trees to rig up your hammock, so a tent is a good back up choice for us.
I like a tent because it allows me space to move around, store extras, get changed etc, but hammock camping has some great benefits plus its fun. And it is one great way to relax.
Hammock Bliss Australia kindly sent us a Sky Bed hammock to review, and we leapt at the chance to give it a try.
So on a gorgeous sunny weekend in Adelaide, we headed out to give it a try.
The important figures:
Dimensions:
4’5″ x 10’10”
135 cm x 330cm
Weight:
23 oz
660 grams
The important facts:
This Sky Bed is described as a two-point flat hammock. Which means it allows you to sleep flatter (eg. more bed like) than other gathered end hammocks. Incorporated into the design is a sleeve into which you can insert a sleeping mat – adding insulation in cooler weather while increasing the rigidity of the hammock, and allowing you to lie more flatly, giving you the option of sleeping on your side if that’s your thing. Stomach sleepers are still going to struggle though.
Material is ripstop nylon and comes with strong 6mm climbing rope to help with the suspension of the hammock. Suspending the hammock doesn’t require any special knots, and if you can tie your shoelaces, you should be OK here too.
The tree straps (which should always be used to prevent damage to trees) are not included in the price of the hammock and must be purchased separately. They come in various sizes, but I’d probably get the largest so you have the best chance of getting it around some larger trees.
First impressions
It all looked so neat and compact in the bag which the hammock was provided in (and incidentally is permanently attached to the open hammock, providing an attached gear bag). The straps were provided to us, in a separate bag.
Unravelling it was easy but was a little concerned how I would get it all back in the bag! I can, but it’s a tight fit. I would prefer stuff sack a little larger to make for quick pack up of the hammock.
The setting up
Our other hammocks have different ways of being attached to trees, so this was another learning experience for us with the Sky Bed.
Attached to the hammock at either end was strong climbing rope and of course, we had the straps provided, but we weren’t sure how to put it all together. Thankfully (and because we like to be prepared) we Googled and came across a great YouTube video which taught us everything we need to know.
More experienced hammock campers would not have had any dramas knowing what to do, but we needed some expert guidance for our first time with this style of suspension.
That video can be found here or watch it below:
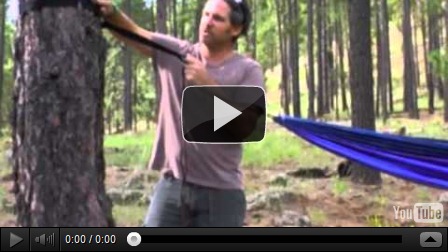
Setting up proved to be easy, especially after watching the video. I especially liked the fact that there were no tricky knots to deal with in securing it to the tree.
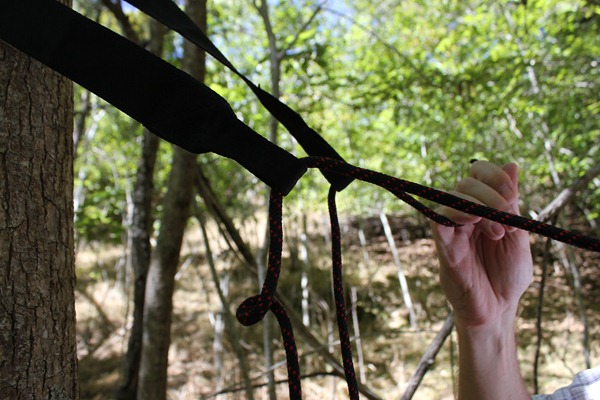
Our first time took about 5-7 minutes of experimenting to get it right, but the second go was much faster. The video shows 2 main methods of setting up, and we tried both.
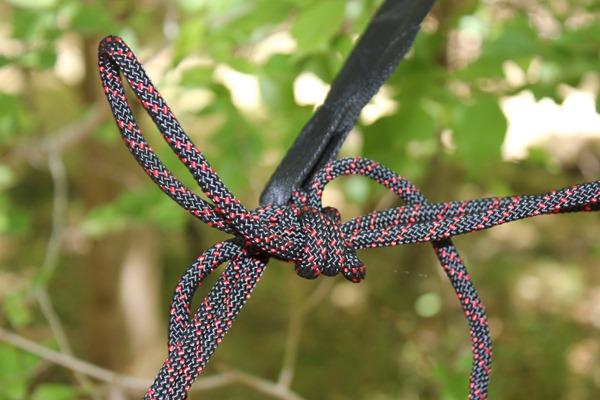
The knot needs to be done like you tie your shoes! I was a bit sceptical on how safe that sort of tie would be, but it worked well for me.
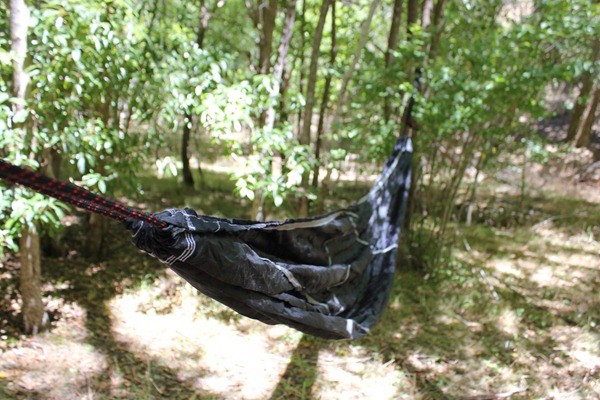
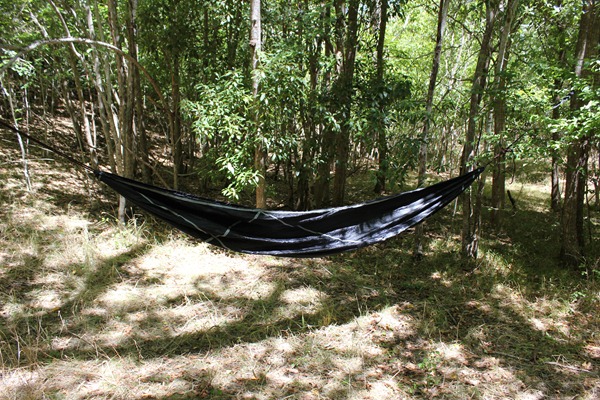
The hammock is set up, and ready to sit/rest/sleep in…
But if you want some warmth or to make the hammock lie flatter (in my personal opinion) then there is one more step.
There is a sleeve built into the hammock to insert your sleeping mat.
Like a lot of other camping hammocks, the Sky Bed is meant to be laid on the diagonal, with your head over one side and your feet on the other. When the mat is inserted, you can see the angle that you are meant to sleep on, and I definitely thought it provided a flatter lay, plus would help with warmth in cool weather.
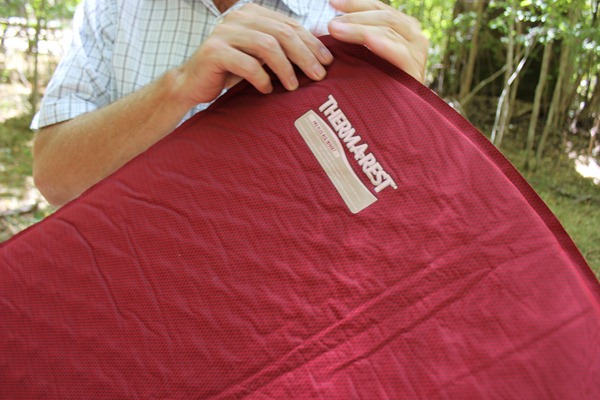

Now we had no idea at this point if the sleeve should be in the section where you sleep, or underneath the hammock itself!
So you can see we took the former option. It worked for us!!! (I have since had confirmation that we did do it correctly).
It seems that lying in the hammock on the sleeve side, could put the sleeve stitching under some stress as you move around, but time will tell.
We used our Prolite Plus by Thermarest, not completely inflated, and that inserted easily into the sleeve. These mattresses are very lightweight, so carrying the mattress plus the hammock, makes it a great choice for hikers. None of our other self inflating mattresses we own would have fit in the sleeve, so ensure you check that out before any trip!
You could use an under quilt with it instead of the sleeping mat, but then it would be like any other hammock and I don’t think that the flat lay would be as noticeable.
The results

With the sleeping mat inserted, the hammock, to me, did definitely feel like I was lying flat – compared to other hammocks.
After being in this Sky Bed, I tried another of our hammocks (different brand), and I could tell the difference between the two in how I lay.
And it was lovely to lie there and feel so comfortable. Check out the view of what you see when lying in a hammock! Nothing but the sky and trees!!!
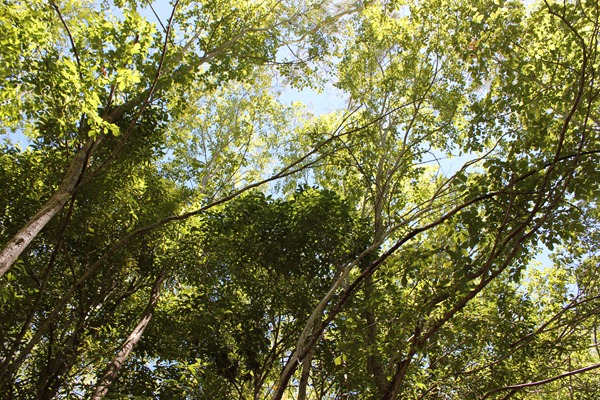
As I sleep on my side, this also made the Sky Bed an attractive option.
All the materials seemed very strong and reliable.
My husband likes the foot box design incorporated into another hammock we own, so he thought he would like some extra material in the Sky Bed, where the feet would lie, but being shorter than him, it was not an issue for me.
Having the stuff sack as a gear bag attached to the hammock is great, as I want to keep torch/phone/glasses nearby and off the ground.
If you want bug netting that is purchased separately, as is the tarp/fly for the hammock. Because I am not a fan of bugs of any sort, sleeping without a net would be an issue. I think I would spend half the night wondering what was going to drop onto me or climb into the hammock. Now, not everyone would be a girly as me I know, but for me, I really, really need a bug net.
Hammock Bliss do sell the No See Um mosquito netting/cocoon, and more info can be found here.
Weather protection is not included with this hammock, so the additional tarp would be highly recommended. We had to purchase tarps for our other hammocks as well – they generally seem to always be a separate purchase.
The verdict
I truly think this is a very comfortable hammock, and if they get the built-in bug netting, it will be even better.
The way you attach the hammock to the trees is very easy and requires no fancy finger work to do – there are a number of webbing suspensions systems out there for hammocks, but this way works and is easy for a beginner to grasp too (which I believe is really important).
One of our other hammocks has all the straps attached to it, which means everything is in one bag and attached, so nothing would be forgotten or left behind on a trip – that could be something, down the track, that Hammock Bliss could incorporate into this hammock set up?
Overall, this is a hammock that I can definitely see myself lounging around the campsite in.
To read more about our other hammock experiences, check out
7 tips on hammock camping
Swinging in the breeze – first time with a Hennessey Hammock


