OutdoorHub
Build the At-Home Archery Shop of Your Dreams
Ever dream of working on your own bow at home? Here’s a breakdown of everything you’ll need to build the archery shop of your dreams.
By: Allie D’Andrea
In January of 2020, I decided to take the plunge and build an at home archery shop. My research ensued with Google searches, hours of watching YouTube videos, and reading article after article on how to build a compound bow out of the box. The information was overwhelming. Not only was I unfamiliar with how to work on a bow, I was unfamiliar with the gear that was needed. I took a step back and decided to take a more systematic approach: start with the gear first. There was no point in learning how to synchronize my cams before I even knew what a bow press was.
As an advocate for learning online (and someone who recently went through the struggles of piecing together information from the internet), I decided to create a full rundown of the gear you need, big and small, to build the at home archery shop of your dreams. What gear is 100% necessary to get started and what can wait? When you can cut corners to save money, and when do you get what you pay for? By starting with this list of gear, you’ll have a blueprint for creating your own archery shop and a place to begin your research.
Let’s dive in.
The three most expensive pieces of gear that you absolutely need to begin your journey are a bow press, bow vise, and draw board.
Bow Press
I ended up purchasing the EZ Green Press by Last Chance Archery. It runs for $399 and is compatible with nearly every bow maker on the market because of their patented fingers which ensure you’re not applying any extra pressure to your bow limbs or torque to your riser (aka you won’t break your bow). If you have extra money to spend, LCA offers multiple versions of their bow press, topping out at just over $900. You need a reliable bow press, and from all of the research I’ve done (on top of my experience with the press so far) the EZ Green is the most affordable, well rounded option available.
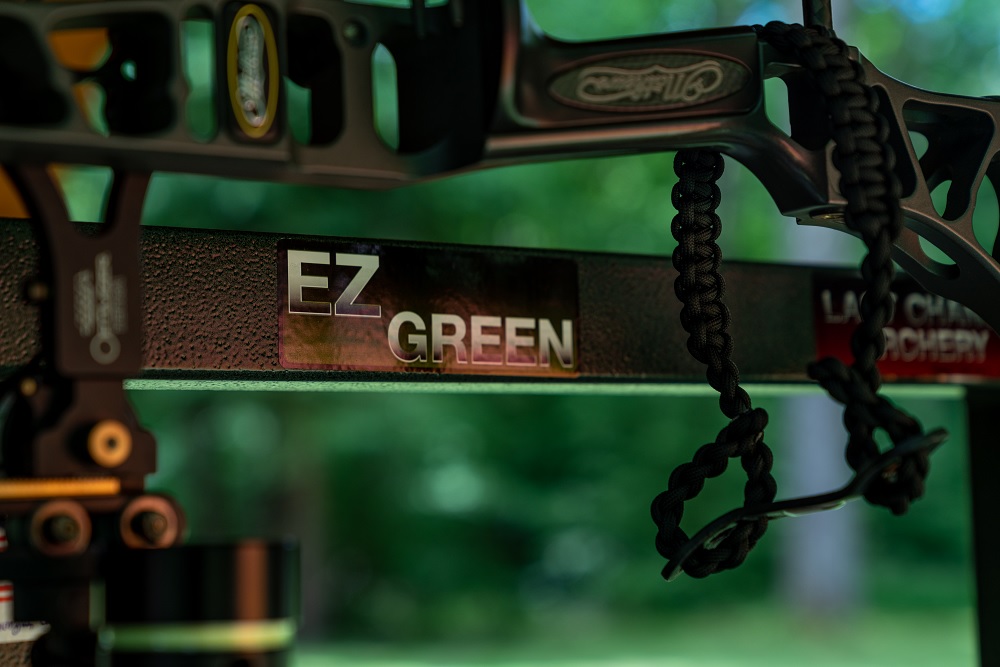
I live nomadically, so bolting my bow press to a workbench was not an option. I needed a system that I could pack up and easily drive across the country. The EZ Green Floor Stand ran me $160 and provides a stable (and packable) base for my press. I had minor issues while installing the legs to the base. Things were wobbly. I called LCA’s customer service and their recommendation was to crank down on the screws, which would slightly bend the metal. I was worried if I bent the metal, I wouldn’t be able to pack-and-go the base so I threw an additional washer between the base and the leg to fill the gap, which helped immensely. All things considered, the stand is now sturdy and I love having the ability to carry my press wherever. Some days it’s nice to work in the middle of the living room, and others I enjoy working outside. The stand is not necessary for most folks, but is vital for my lifestyle.
Bow Vise
A vise is another piece of must have gear. But not just any vise will do. You need a vise that is specifically designed for archery equipment in order to level the bow while aligning your sight and rest. There are many options out there, but I opted for the OMP Versa-Cradle Bow Vise.
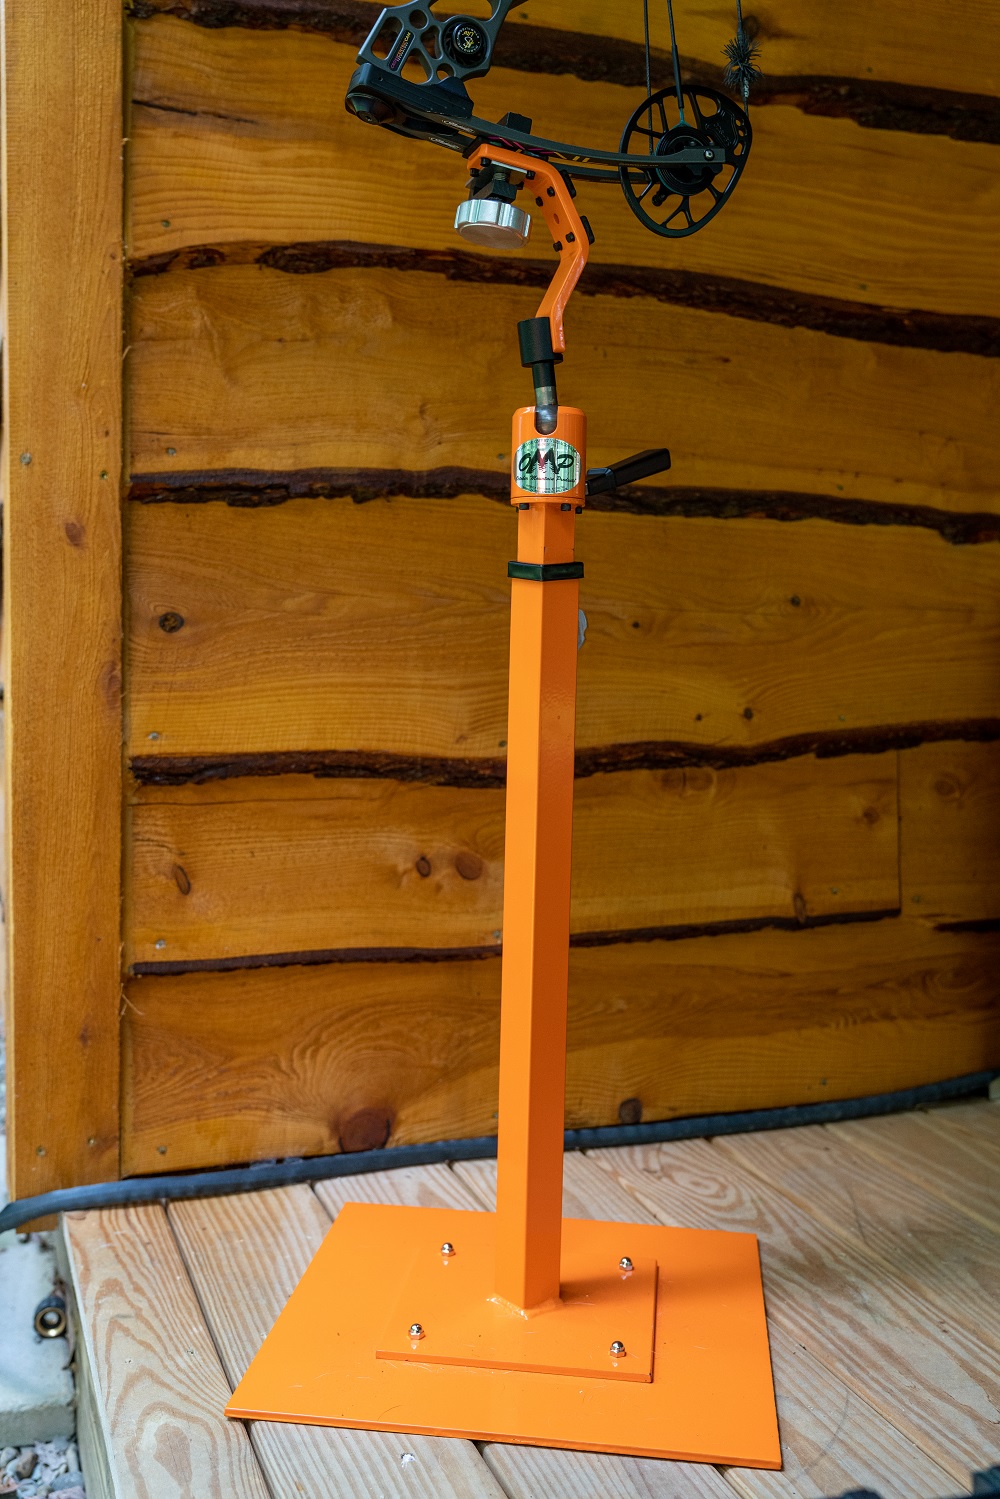
This decision was essentially made for me because it is the only bow vise on the market with it’s own stand (a must have for my mobile set-up). Because of that, it put a hurting on the wallet. It ran me $350 (I’ve seen it listed as high as $400). Most bow vises cost around 100 bucks and can be easily bolted to a workbench. The stand is great if you like the convince of mobility, but not necessary for most folks.
Draw Board
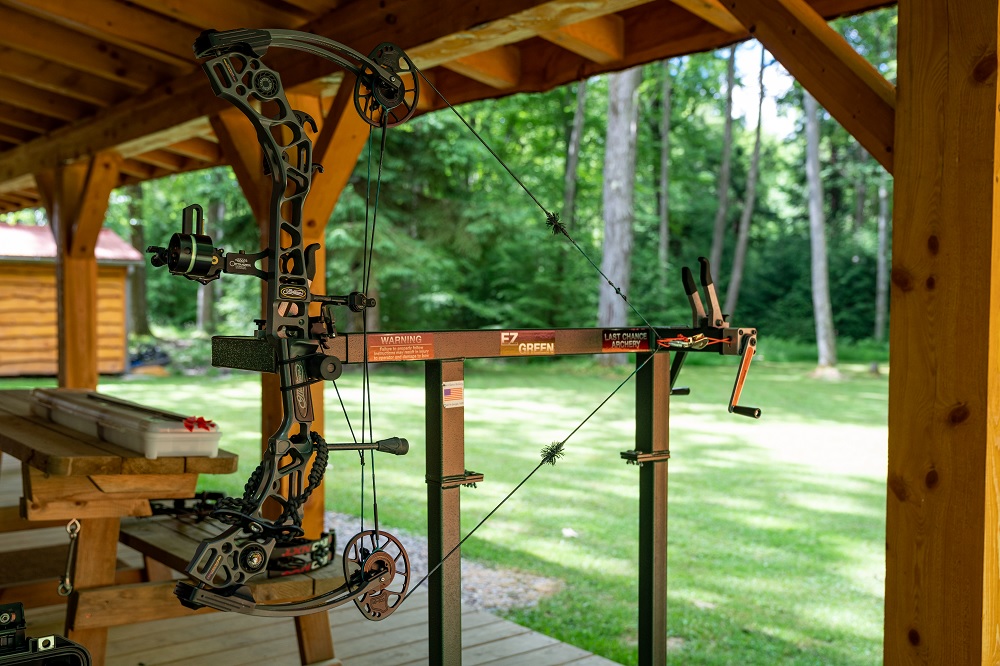
Having a draw board is something that you could skip when first starting out, but if you’re serious about building a dream shop, you’re going to want one. Draw boards allow you to inspect for cam timing, cam lean, and measuring draw length with pinpoint accuracy. Without it, you’ll be constantly asking your buddy for help, since it’s impossible to draw your bow and check all of the necessary components.
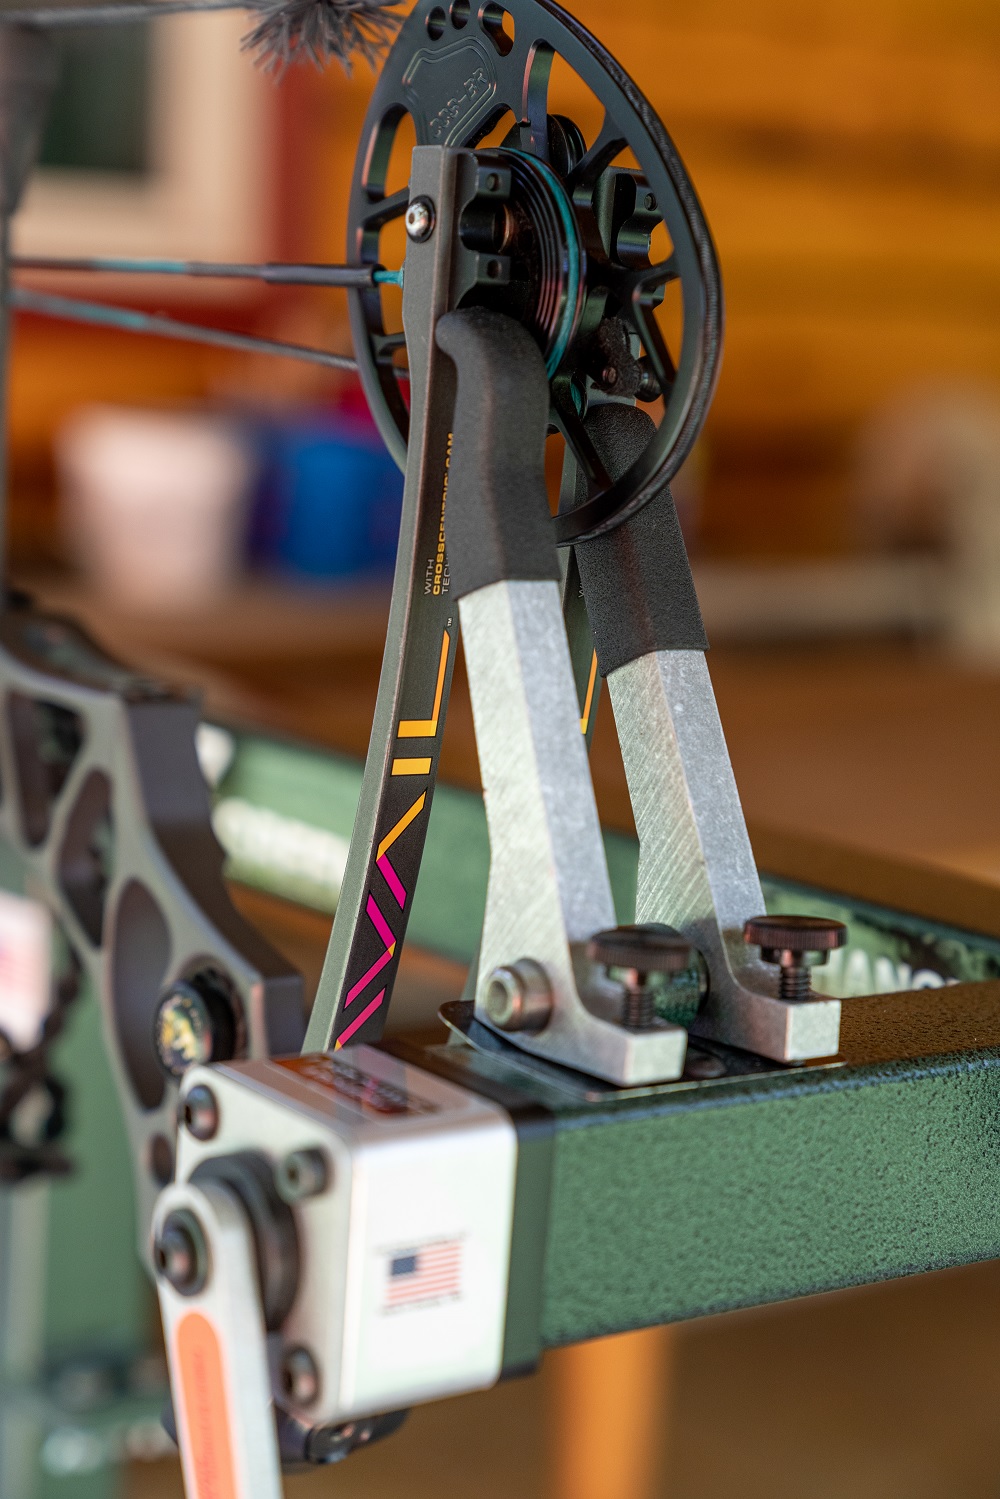
I opted for the LCA Draw Board because it fits perfectly into my EZ Green Press. I bought it for $220. If you’re trying to save money, there are plenty of “DIY how to build a draw board” videos on YouTube.
Additional Small Gear
Next, comes the small gear. The little odds and ends that are necessary to build your own bow. This includes:
- D Loop Material
- Bow Square
- Arrow and string levels
- Allen wrenches
- Paper tuning kit
- Centershot device
- Serving Material
- Lighter
- Scissors
- Razor blade or small knife
- 3rd Axis Level
- Needle Nose Pliers
- String wax
- Tape measure
- 100% pure acetone
- Draw weight scale
- Cat whiskers
- Sharpie
- Chronograph
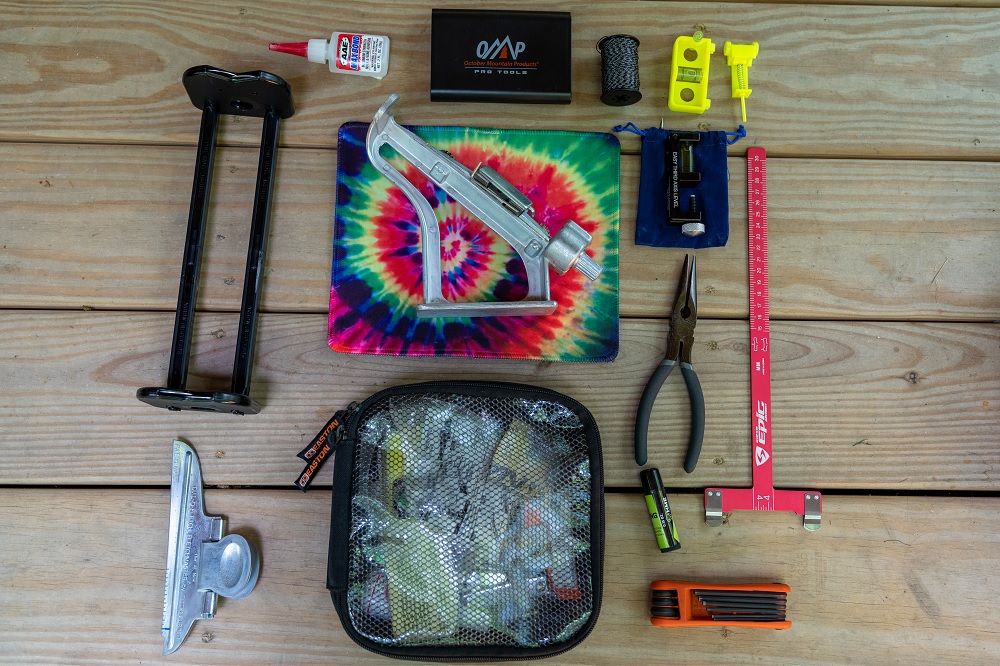
The Chronograph is the only item on the list that I’d consider non essential. All other items are necessary for properly setting up and tuning a compound bow.
Arrow Building
Last but certainly not least, you will need gear to set up your arrows. This entire section could be thrown into the “wait for later” category if you are tight on cash. However, I feel that building out your own arrows is the cherry on top of building out a bow. With these tools you can test various vane configurations, improve arrow straightness, and build a quiver of arrows that have matching grain weights.
- Arrow Saw
- Fletching Jig
- Vanes
- Arrow Wraps
- Vane Glue
- Mouse Pad
- Arrow Spin Tester
- Arrow Squaring Device
- Grain Scale
- Field Tips
- Arrow Inserts
If you treat this list as a blueprint for further research, you are ahead of the game for building out your own archery shop. Research each piece of gear step by step and in no time, you’ll be a self taught archery technician.
Good luck!
The post Build the At-Home Archery Shop of Your Dreams appeared first on OutdoorHub.


