
OutdoorHub
Harvesting and Cooking Fish Collars – Chicken Wings of the Sea
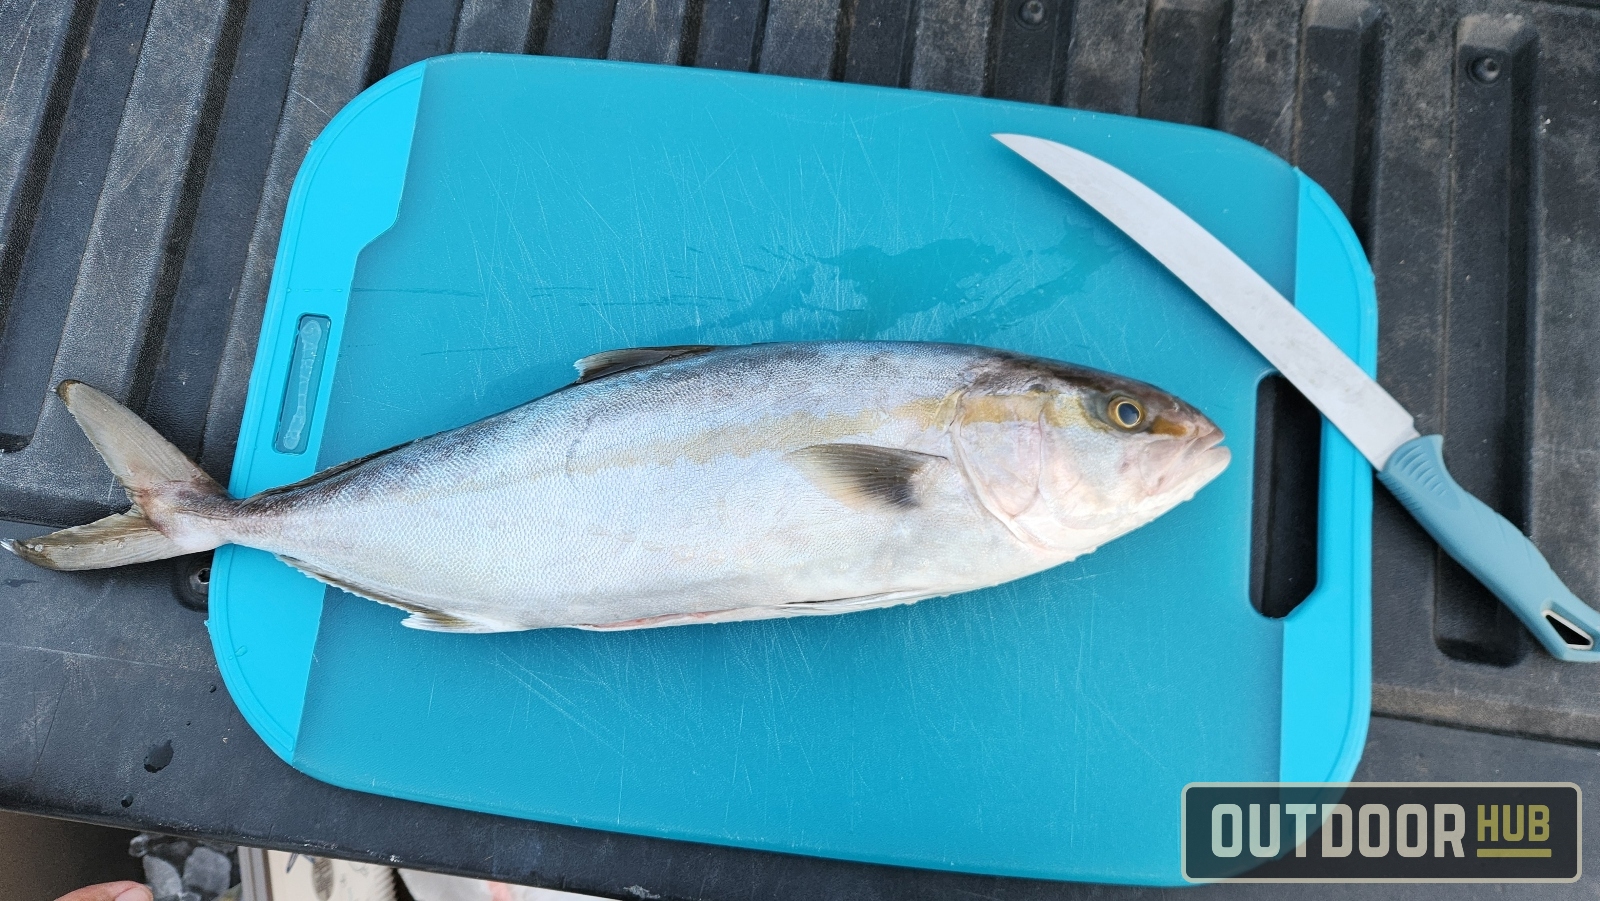
I know for a fact that a lot of anglers leave a lot of meat on the carcass when it comes to breaking down fish. The majority of anglers will remove the fillets from the sides of the fish and discard the carcass, either back into the water or into a trash can next to the cleaning station. I don’t blame them for doing that, but they are missing out on a good chunk of some of the best meat a fish has to offer. I’m talking about the fish collars here, often left attached to the head and spine of a fish carcass because of the bones in them. These succulent triangular cuts of fish start at the clavicle of the fish, right behind the gill plate, and end behind the pectoral and pelvic fins of the fish. This is one of my favorite cuts when it comes to fish, and some of the fattiest meat of the whole fish, with all the belly meat between the fins. The collar bones are rich in collagen, which keeps the meat succulent and moist as it cooks. And for those who are worried they might overcook this unfamiliar cut of meat, let me stop you here and tell you that unless you nuke a fish collar or burn it to a crisp, it’s hard to mess up cooking one. Fish collars are very forgiving and hard to dry out.
Jump right to recipe

Cooking Content on OutdoorHub
- Catch & Cook – Baked Stuffed Snapper – Vermillion Snapper
- Catch & Cook – Grilled Dove Poppers
- Crispy Fried Shark Sandwich (Bake and Shark)
- Catch & Cook – Wild Turkey Leg Birria
- Catch & Cook – Turkey Breast Schnitzel
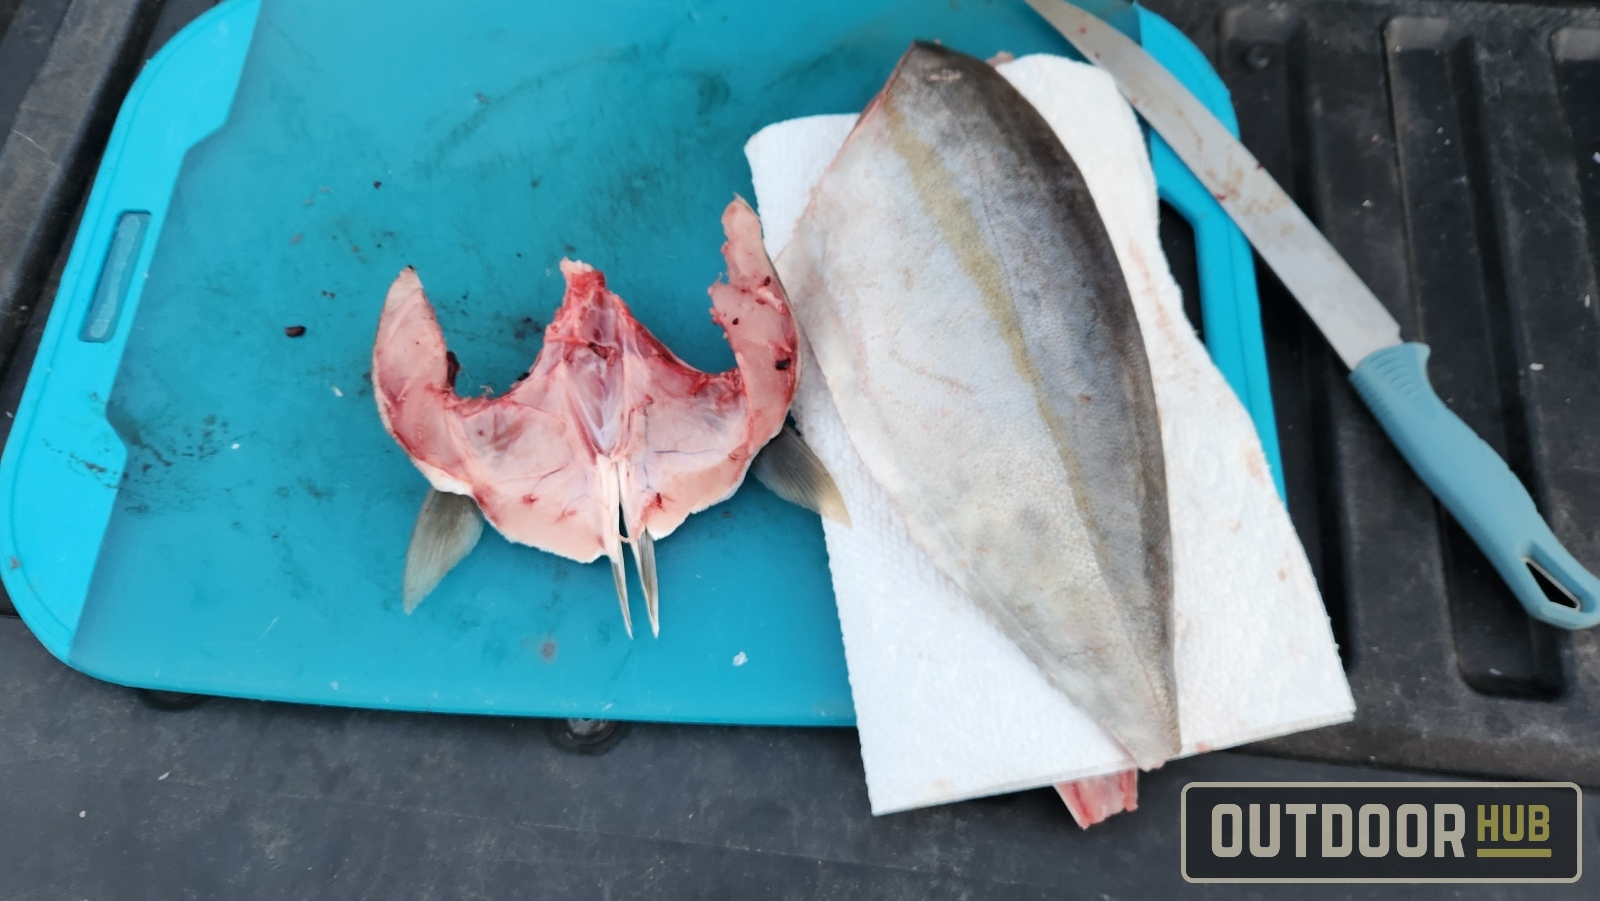
Harvesting the collars off a fish is very straightforward; fillet the fish like you would normally. Once both sides of the fillets are off the frame of the fish, and you have just the carcass of the fish, head, spine, and collars, pop off the spine of the fish carcass right behind where you made your first cut for filleting the fish. Then, cut off any excess membranes or organs that are still attached to the collars, such as the gills or heart. Then, with the heel of your knife, push through the spine near the top of the head, right in front of the collars. This should now have your fish collars detached from everything else. If the collars are still attached, either at the belly or the spine, use your knife to split them apart into two pieces. Then, using a paper towel, remove any remaining blood or slime from the collars, and they are ready to cook.
As I mentioned earlier, fish collars are very forgiving and versatile for cooking with. Just like chicken wings, the collars are loaded with good fats, bones, and collagen. So you can cook fish collars hot and fast or low and slow. If you want to make a rich fish stock, fish collars are hard to beat. You can add that, along with the spine, to your stock or soup to incorporate a variety of beneficial fats and collagen. With them mainly being meat and larger bones, you can easily pick out the bones afterward to utilize the meat as well. If stock isn’t what you’re looking for, cooking a whole collar up as an entrée is a great idea as well. With their forgiving nature, you can fry, grill, smoke, or bake them to your liking. The only thing to note is that, with this being a thicker cut of fish that still has the bone in, you should season it a bit more heavily than a standard cut of fish fillet.
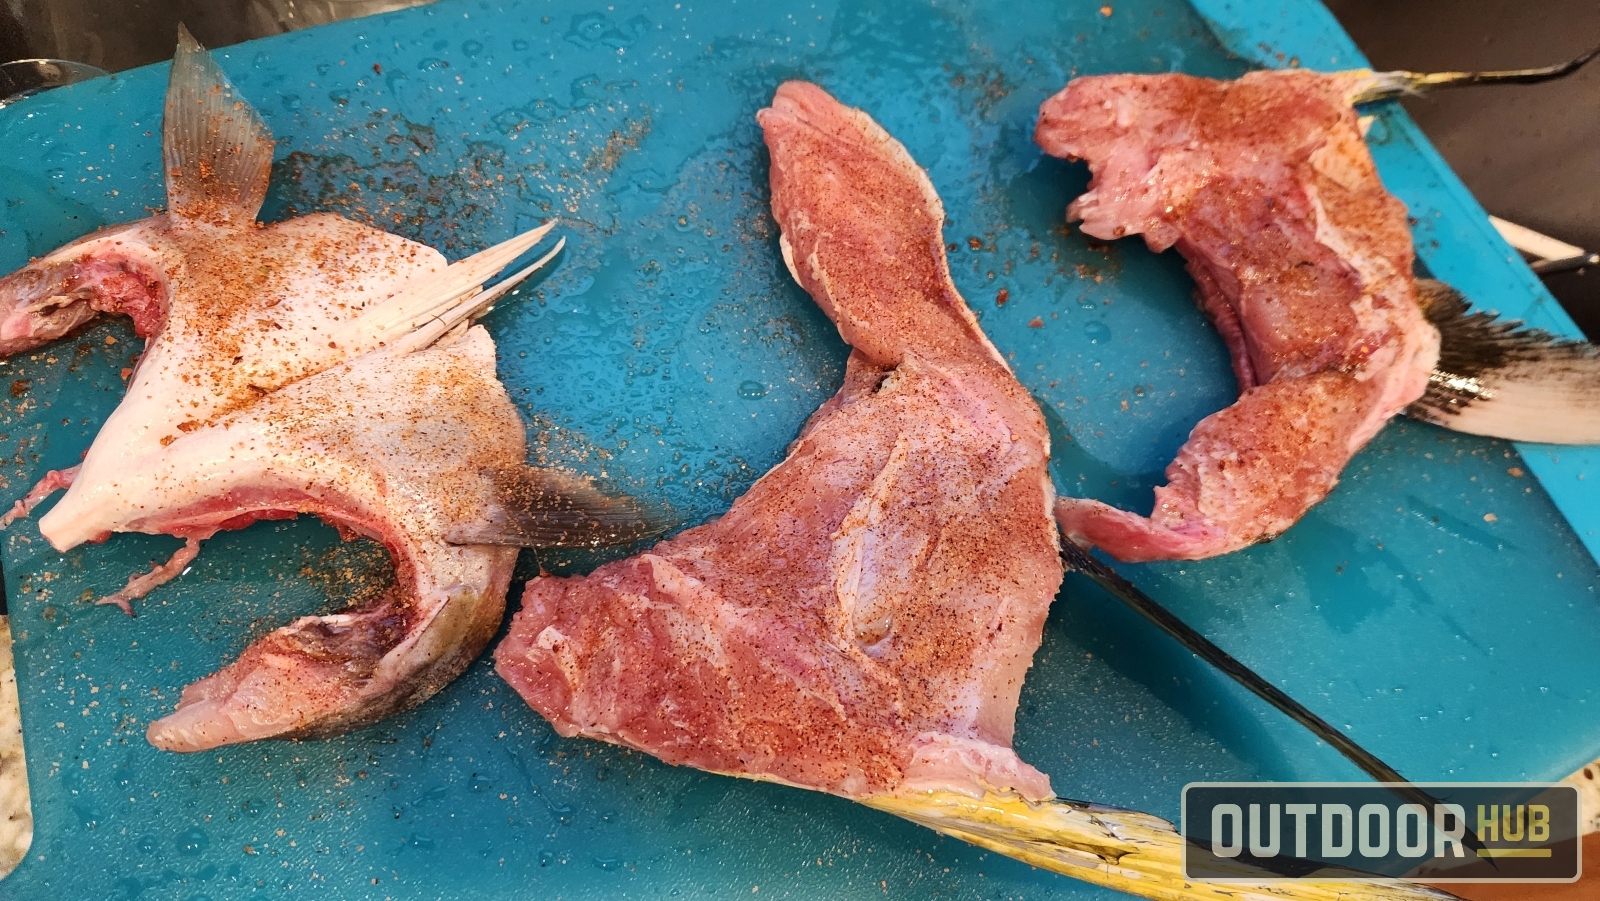
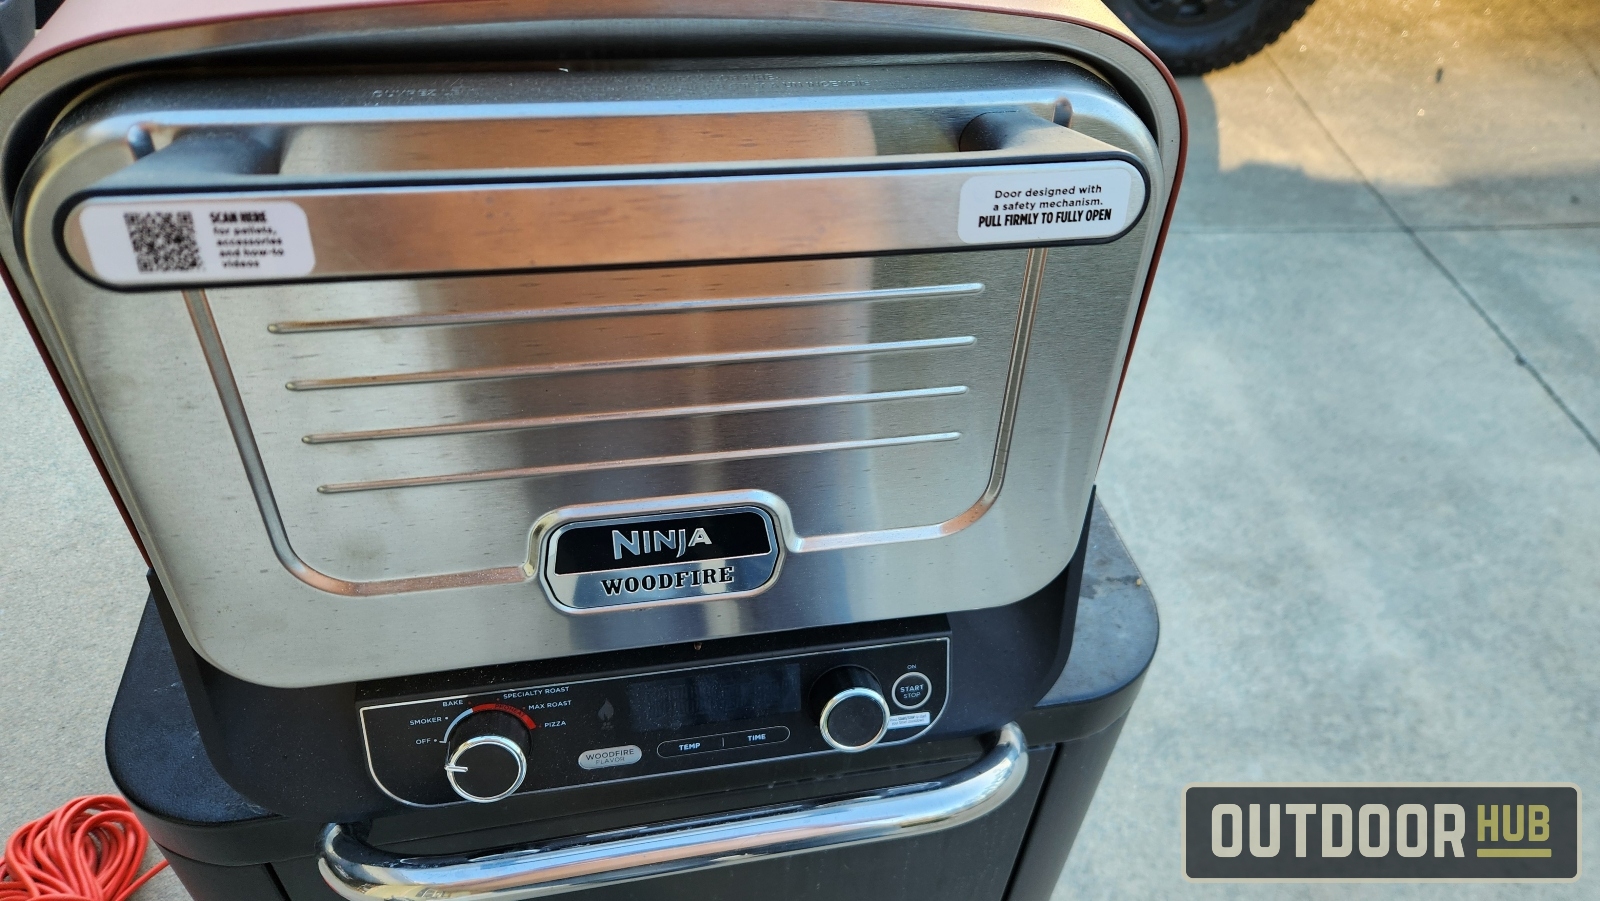
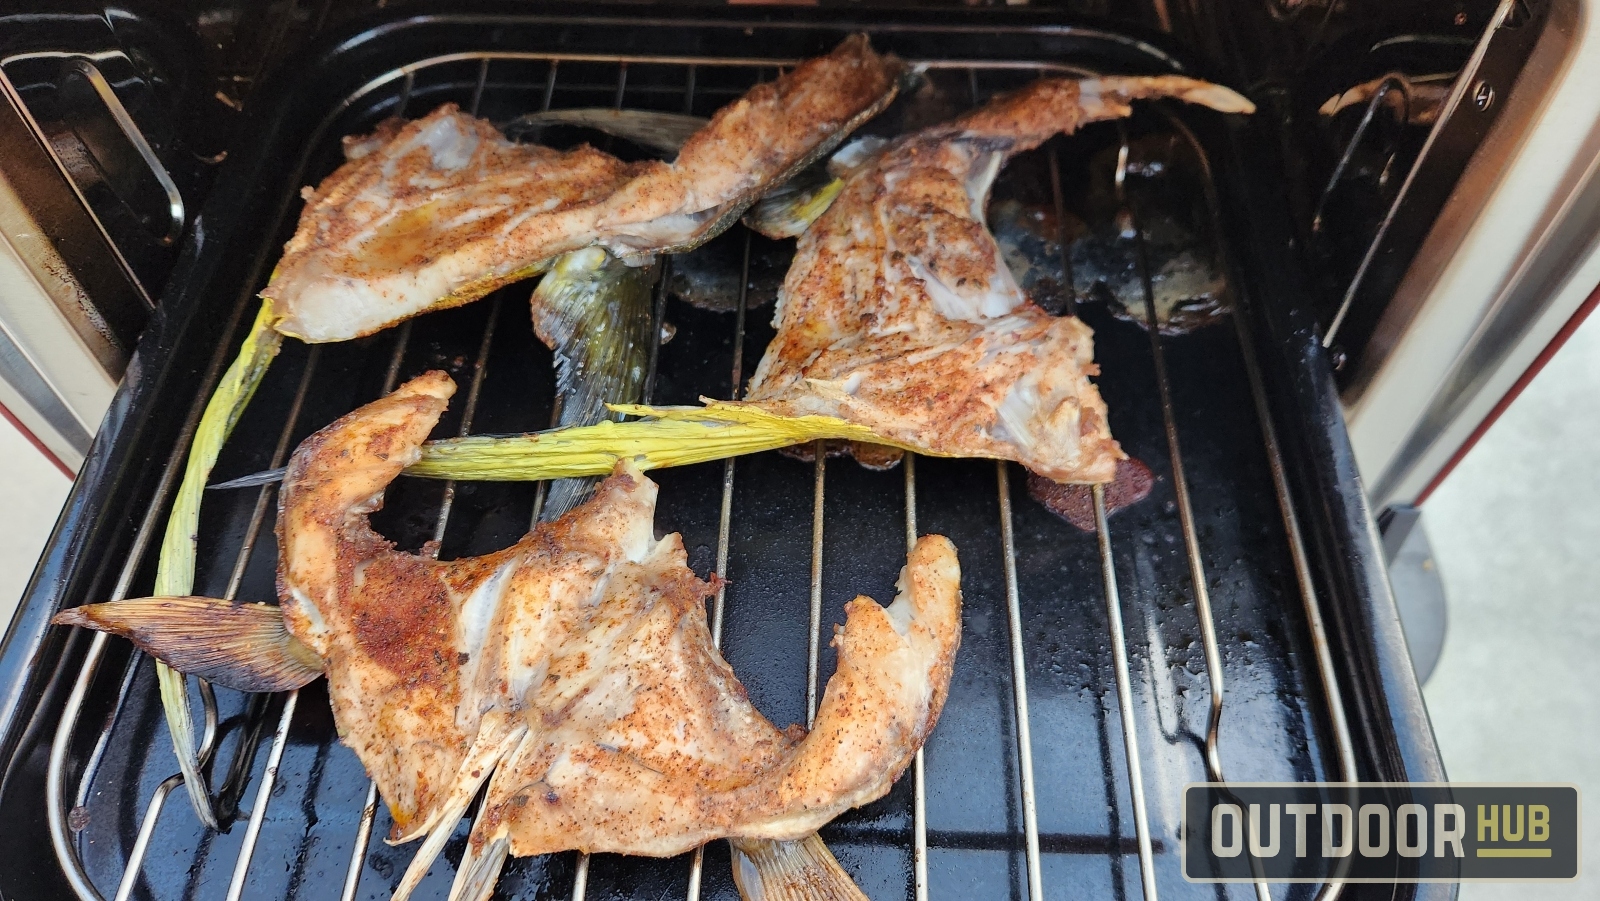
My go-to recipe for fish collars, especially with more fatty species of fish, is to bake or broil them in my outdoor woodfire oven. First, preheat your oven to 400°F. While your oven is preheating, grab your fish collars and pat them dry. Then, heavily season the meat side of your fish collars, and place them on a roasting tray, skin side down. Once the oven is up to temperature, place the fish collars in and cook for 10 to 20 minutes, depending on their thickness and size.
You want them to reach an internal temperature of 140°F before pulling them out of the oven and serving them with your preferred sides. Hopefully, this has convinced anyone who hasn’t been harvesting the collars of their catches to take some of the collars off their next catch and see what they have been missing out on.
Baked Fish Collars
Prep Time: 10 mins | Cook Time: 15–20 mins | Servings: 2–4
Ingredients:
- 2–4 fish collars (Mahi, Rudderfish, or other fatty species)
- Creole seasoning (or your favorite fish seasoning)
- Paper towels (for patting dry)
Instructions:
- Preheat oven or woodfire oven to 400°F.
- Clean the fish collars thoroughly, removing gills, heart, and excess membranes.
- Pat fish collars dry with paper towels.
- Heavily season the meat side of the collars with Creole seasoning.
- Place the collars skin side down on a roasting tray.
- Bake for 10–20 minutes, depending on thickness, until internal temperature reaches 140°F.
- Remove from the oven and serve hot with your favorite sides.
Notes:
Fish collars are high in fat and collagen, making them ideal for grilling, baking, or smoking. Adjust the cook time based on the thickness and size of the meat.
The post Harvesting and Cooking Fish Collars – Chicken Wings of the Sea appeared first on OutdoorHub.